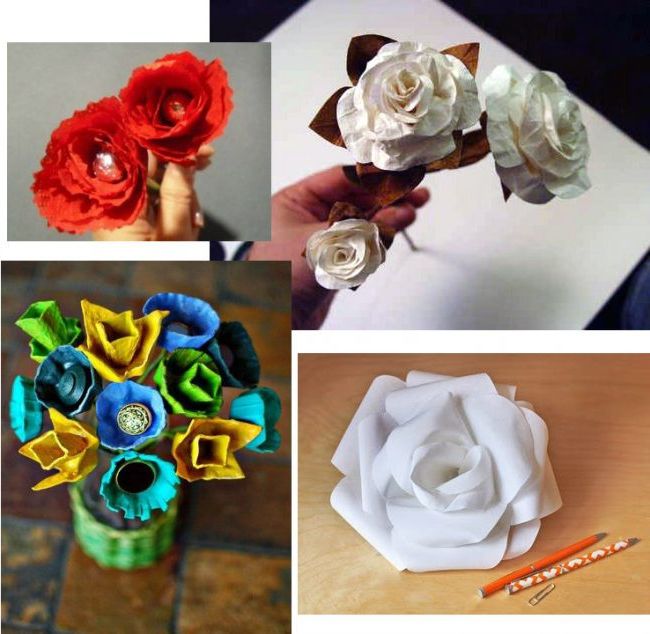
We will show you below, 4 very simple ways of how to make paper or fabric roses, and an option of flowers made with a recycled egg box. Do you agree with the use of fake plants and flowers? Our answer is yes, because they are imitations for commercial or residential decoration and do not need maintenance.
If you are a busy person, natural plants and flowers may need time that you don’t have. That is why the renaissance of artificial flowers is in full swing.
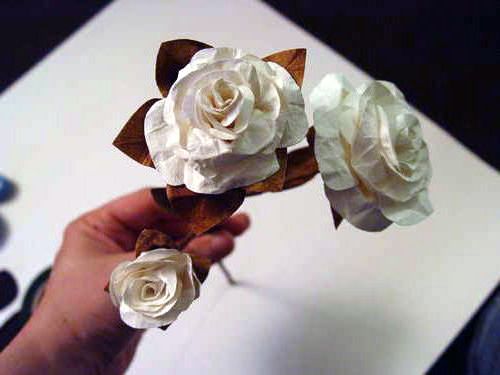
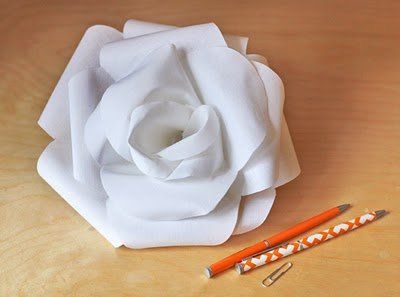
How to make paper roses
This is a cheap way on how to make easy and very pretty roses at home.
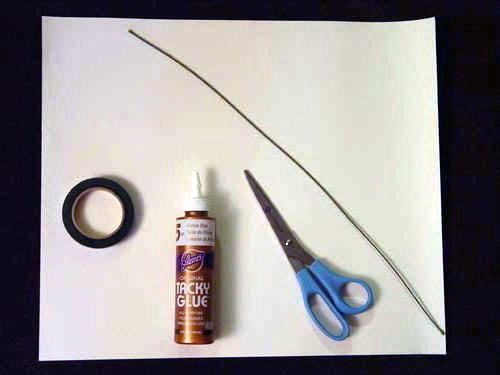
Materials
- Paper
- Glue
- Pair of scissors
- Wire
- Green tape to cover the wire
Step by Step
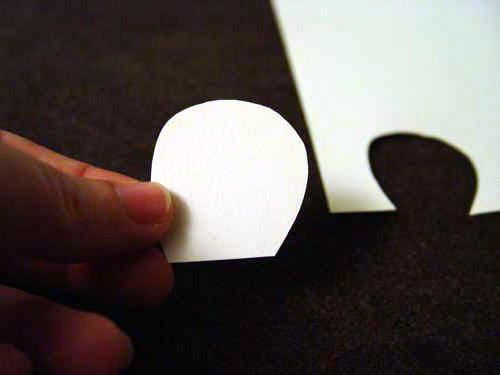
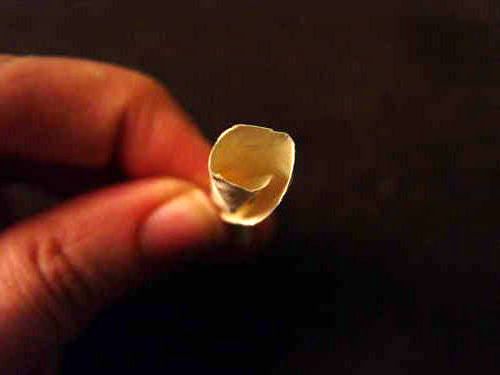
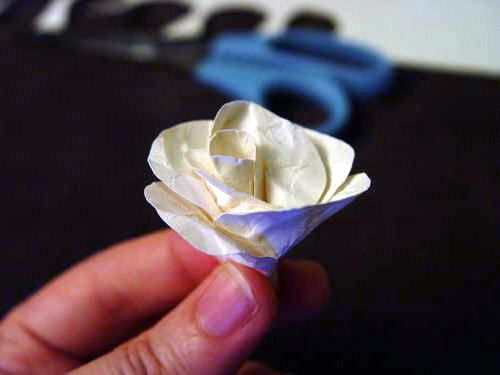
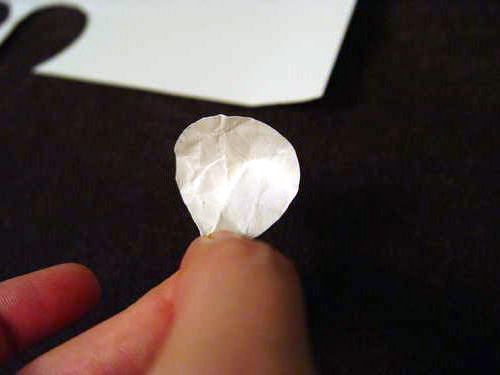
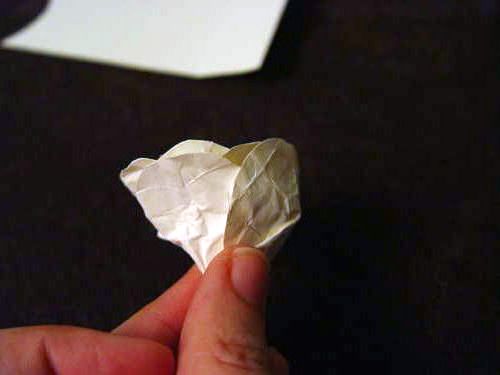
Step 1 – First the center of the rose is made. Cut out a petal and crumple it up. This makes the paper more flexible. Form a petal by gluing it to the base by rolling it up. A dab of glue on the bottom will keep the petal in the desired shape.
 Step 2
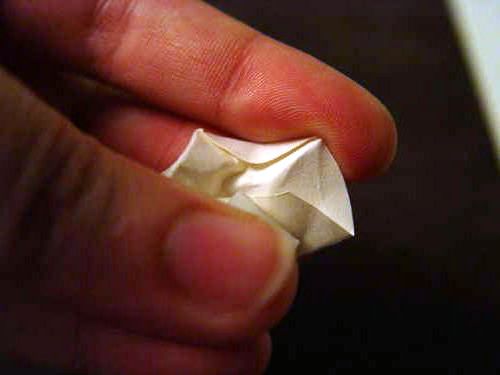
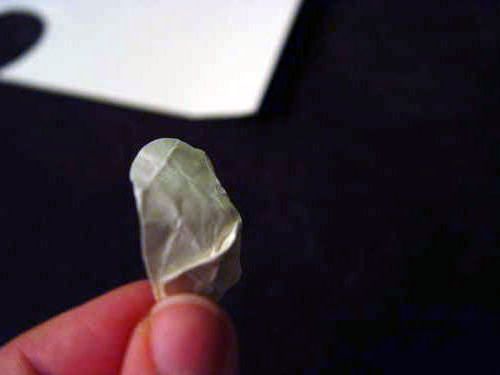
 – Keep adding and gluing the base petals together, while shaping the desired center shape. The petals should be folded at the base as indicated in the second photo below.


 Step 3
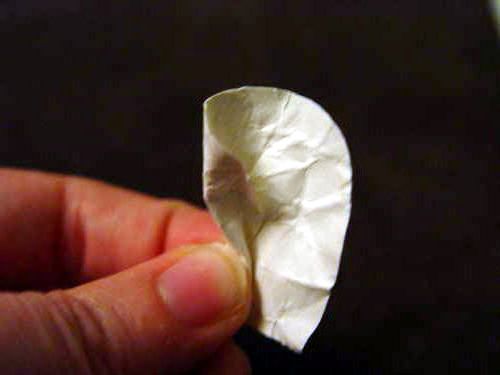
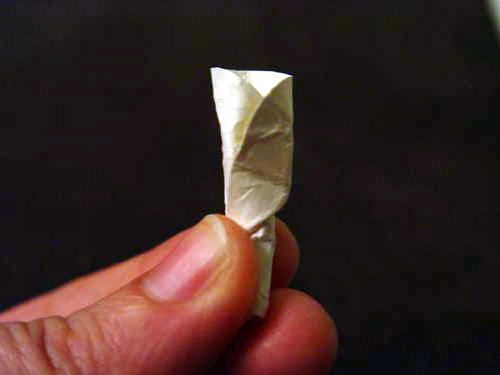
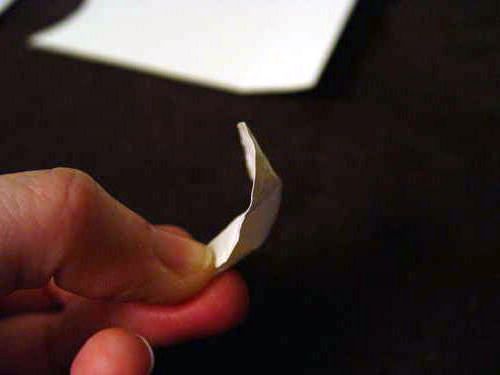
 – The outer petals must be folded at the base as indicated in the photo in order to create the curve. Add as many petals as you like.
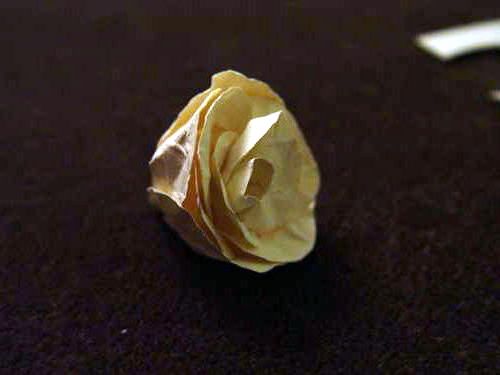 Step 4
 – Once the rose glue is dry, glue a wire to the base, gently inserting it into the flower.
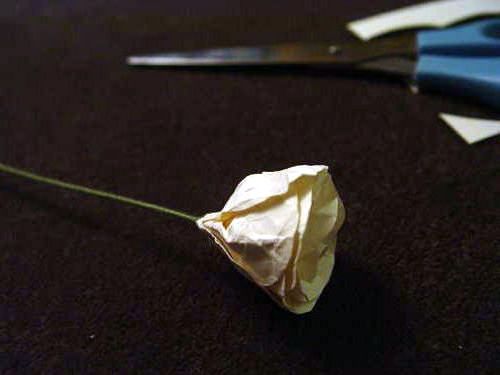 Step 5
 – Using the same procedure as the petals, you can add leaves. And finally you can cover the wire with green paper or tape to resemble a stem.
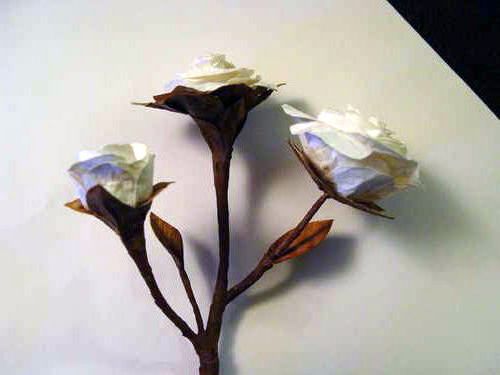
Little by little you can put together a bouquet with as many flowers or buds as you like or need.
How to make fabric roses
Here we will introduce you to a way to make some beautiful starched fabric roses. For those who are not familiar, there is a spray with which one sprays the fabric and when it dries (it can be in the microwave), the fabric is hard as a sheet, but flexible at the same time.
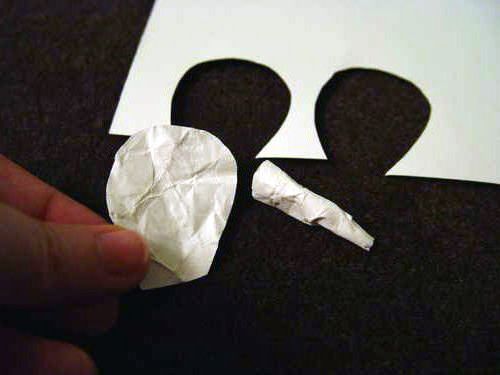
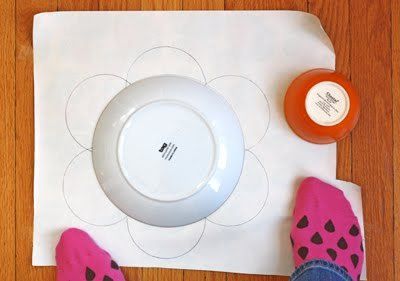
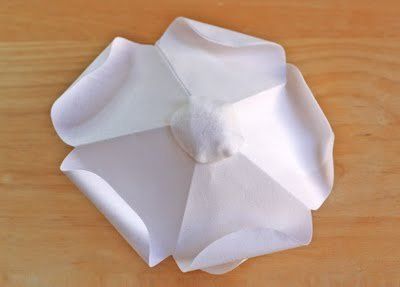
Taking a white paper we make the mold of the petals, as in the image. As we can see, it can be done with a plate and a cup. Make 6 of these molds.
Then we can place the starched cloth rolled up in a glass cup and place it in the microwave for 20 to 30 seconds. It will be hardened, although flexible, being able to iron it if you wish.
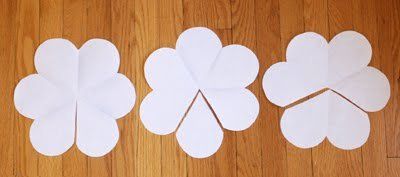
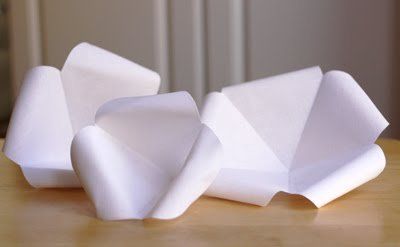
Using the paper template, cut three similar shapes out of the fabric and fold each three times, so that 6 petals are visible on each fabric. Finally, make the cuts that can be seen in the image, to each one. Preserve all the cut pieces.
Now you will take the larger portions and join the adjacent areas where it was cut in each one. Example: in the mold of six petals, that you cut a petal, you will join the mold that was 5 with itself, by the petals that joined the one that was cut. (join with a bit of glue)
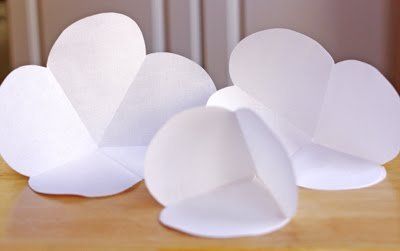
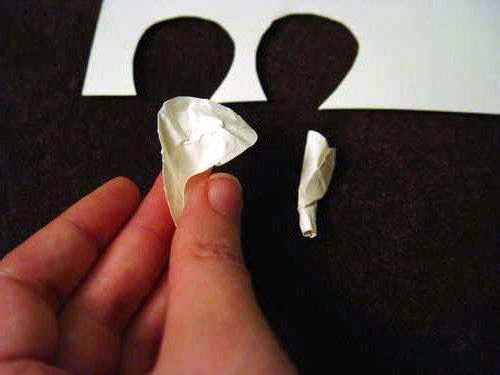
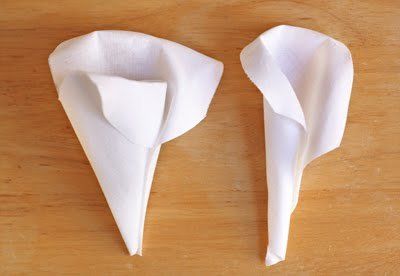
With the loose petals that were left, you will have to do one of the most difficult parts. With the help of the tip of an iron you will go over the petals and as you go, roll them with your hand until you reach figures similar to those in the image, according to, if it is one petal, two or three. In the photo, the petals on the right, is one superimposed on top of one of two.
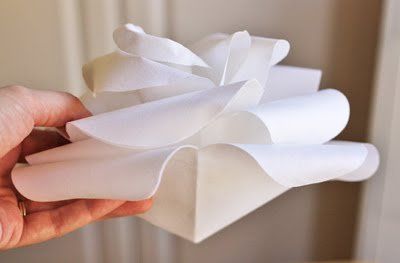
Now you must pass the tip of the iron through the rest of the petals (3, 4 and 5)
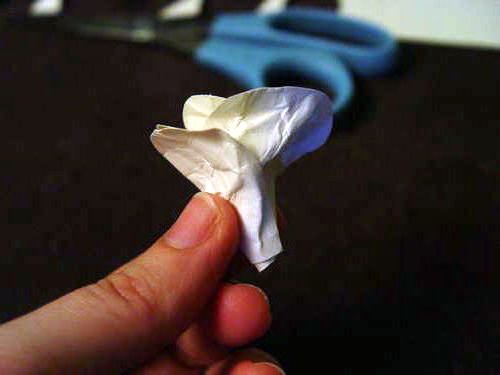
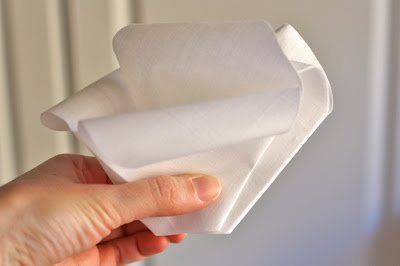
All the ready subparts are already there, so you can put them together and see if you like the look or if there are any steps you want to redo. Finally, with a little glue, join them and place a small circle at the base to hide the ends, and the homemade rose will be finished.
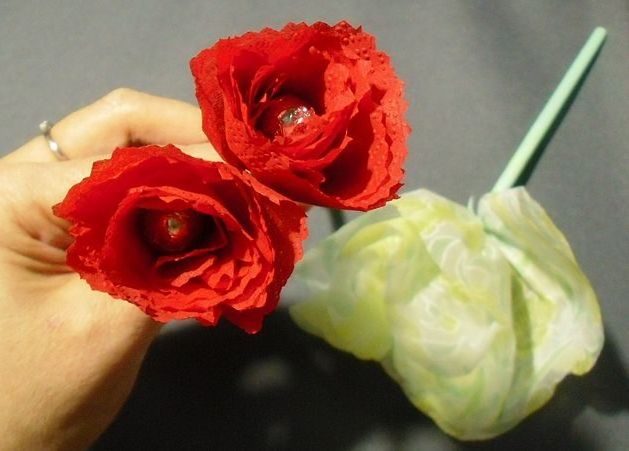
Crepe paper roses
We will show you how to create a nice and cheap decoration, which can be used as a flower arrangement in any normal vase, made from crepe paper.

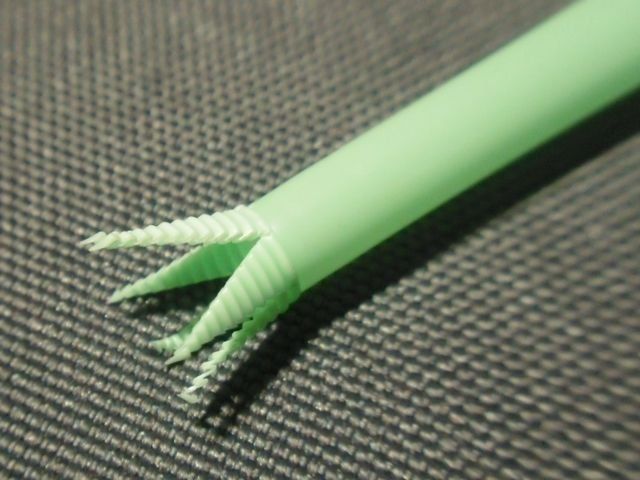
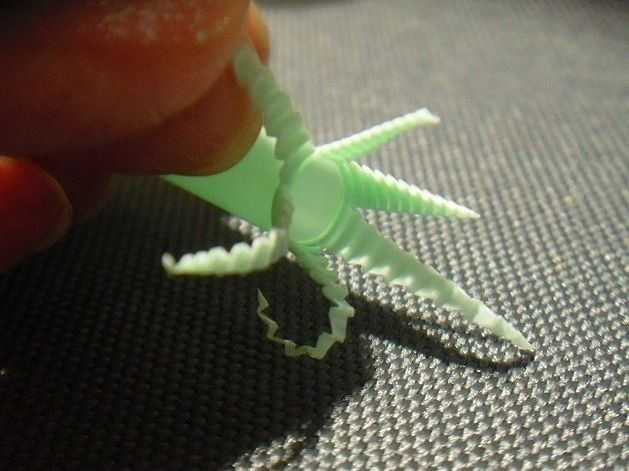
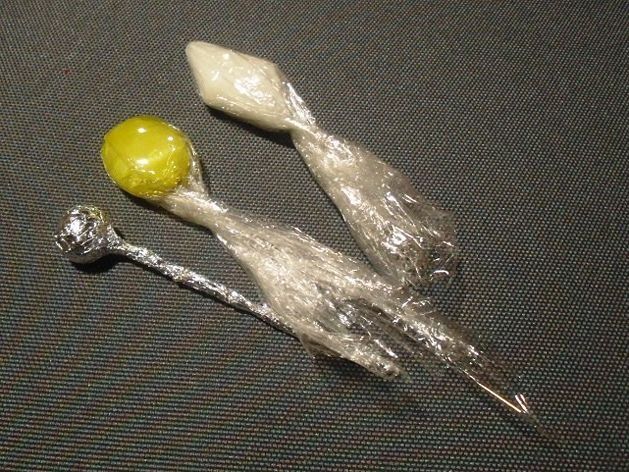
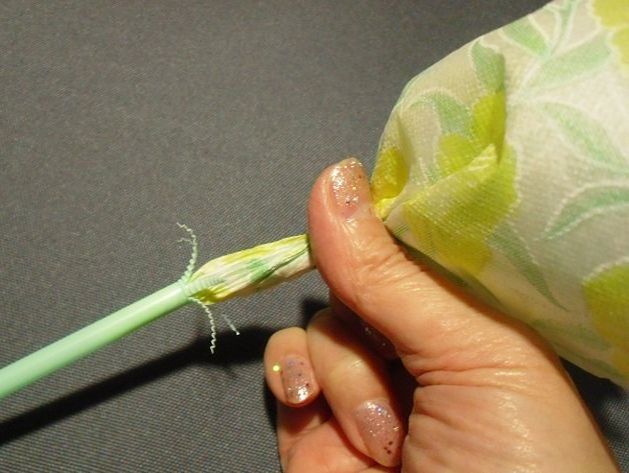
We’ll start with the stem of the flower. This will be achieved with a green straw, to which various cuts will be made in the part that is flexible in order to emulate the union with the petals.
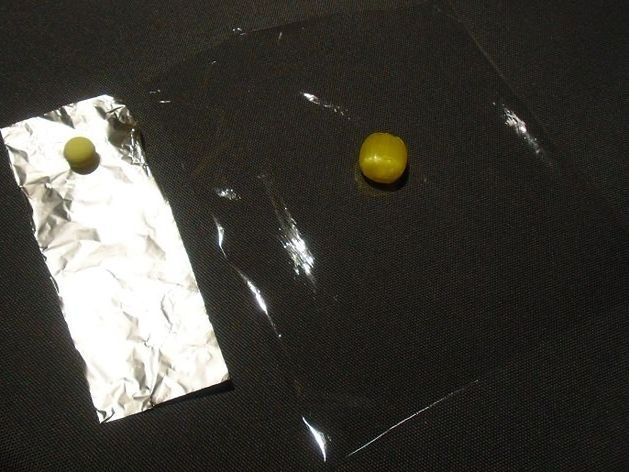
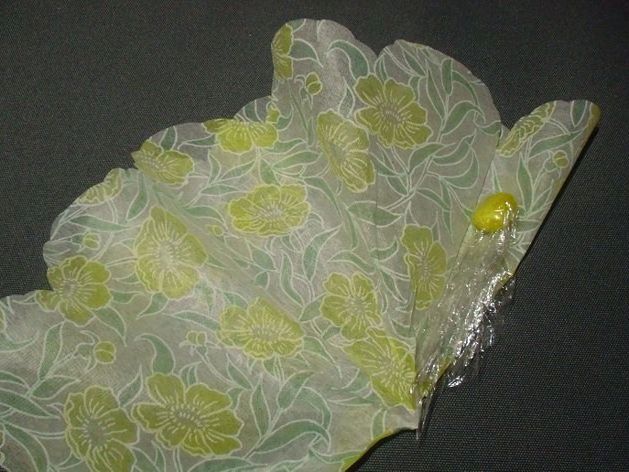
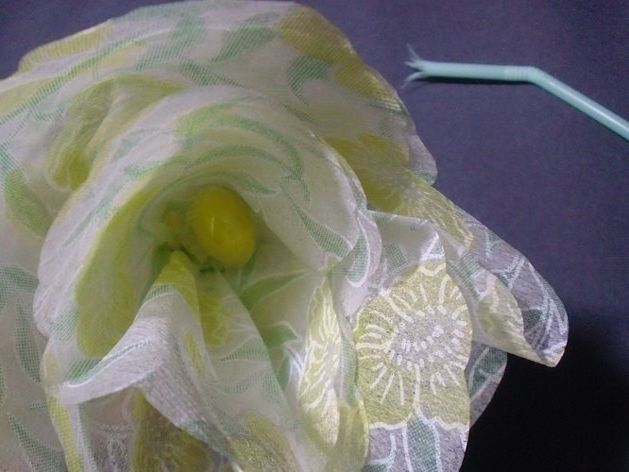
You must make the pistil, with the help of a ball or candy, cellophane paper or aluminum foil, as you like or what you have on hand.
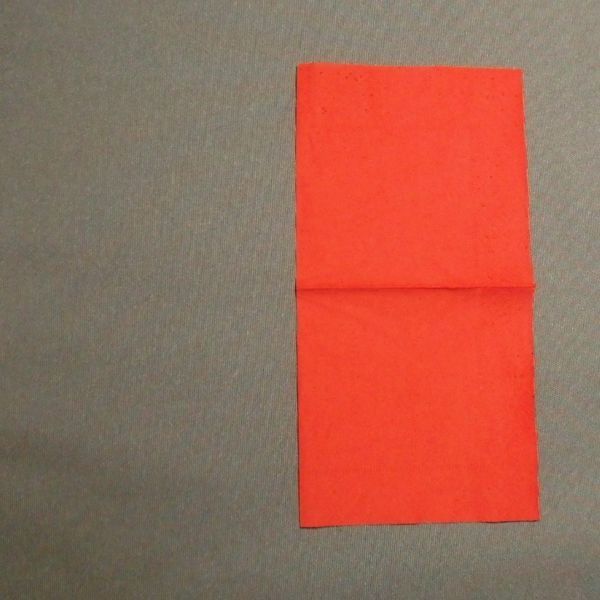
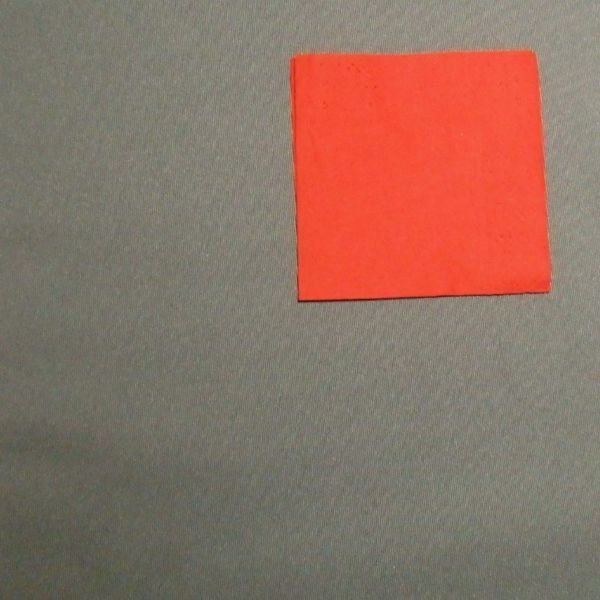
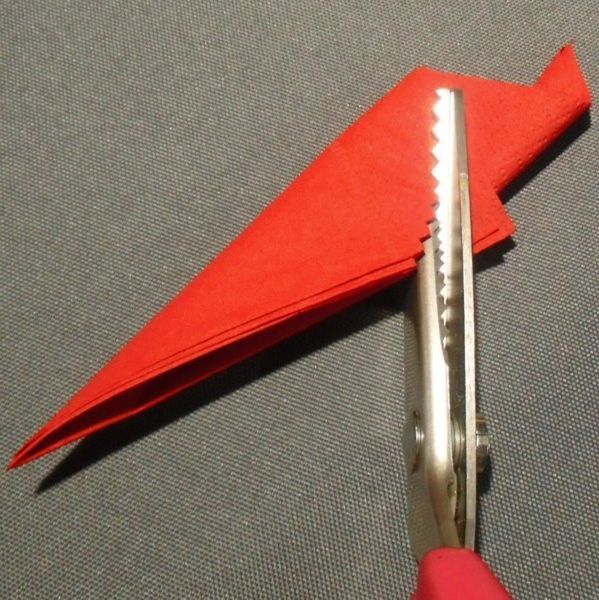
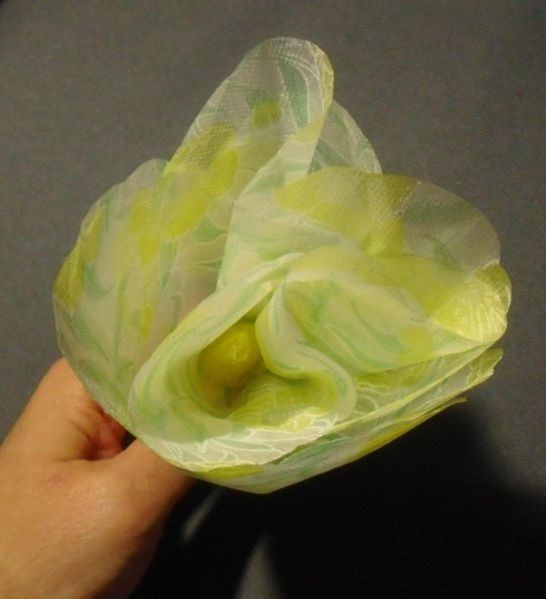
Then you must choose a color for the flower, then cut out a square between 15 and 20 centimeters on a side. Then follow the diagram in the photo in order to achieve the final figure that we see below.


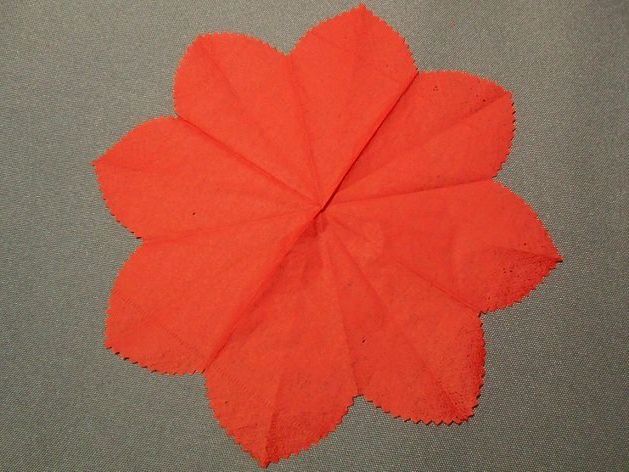
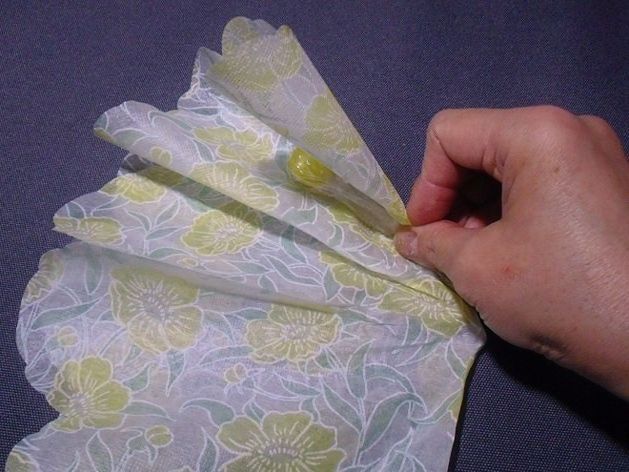
Next step, one must delicately perform what is seen in the photo below and then unroll it very gently.
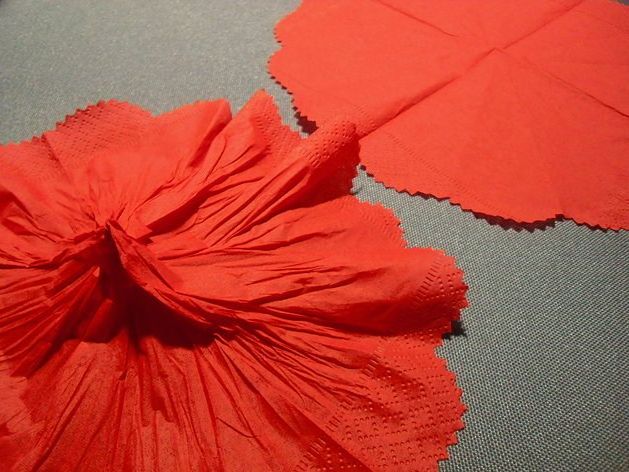
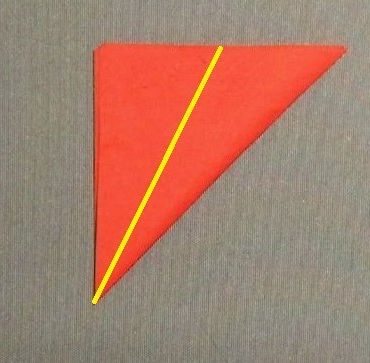
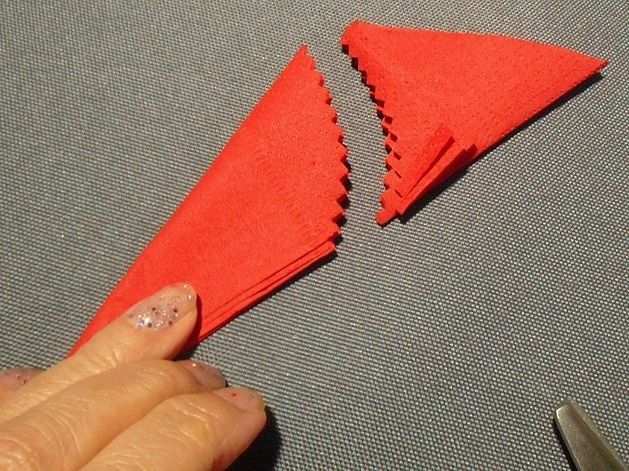
As you can see in the last photo, you have to make a cut in a radius. This is helpful because you will be rolling it into a flower, making it look like it has multiple layers of petals.
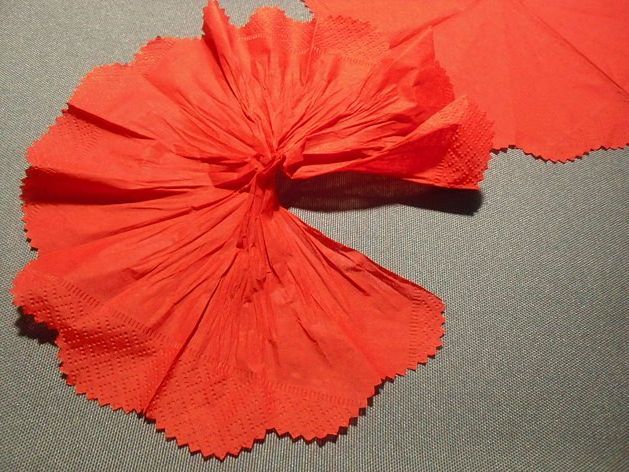
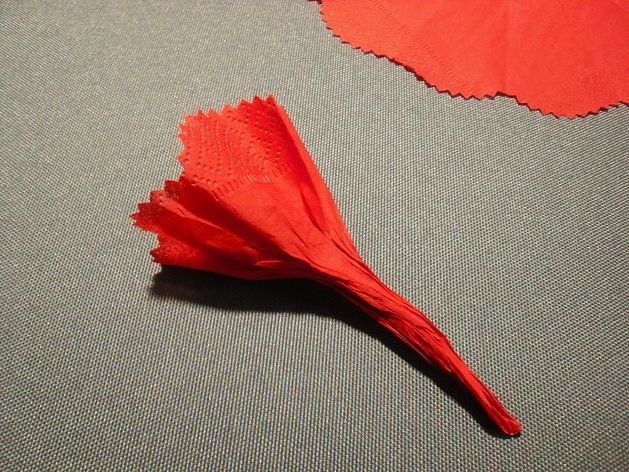
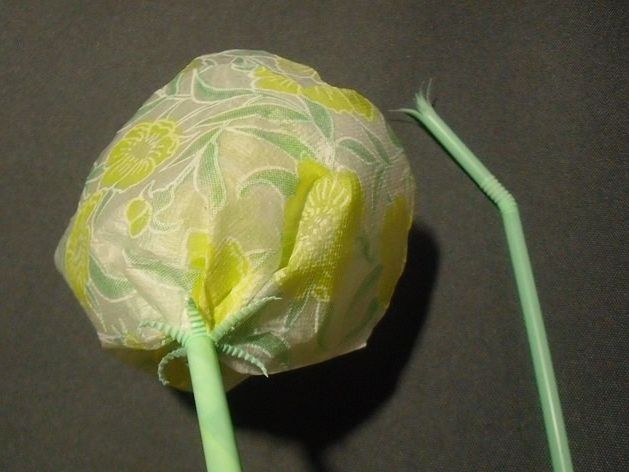
Then you roll this paper around the pistil. Once the flower is done, you insert it into the green straw.
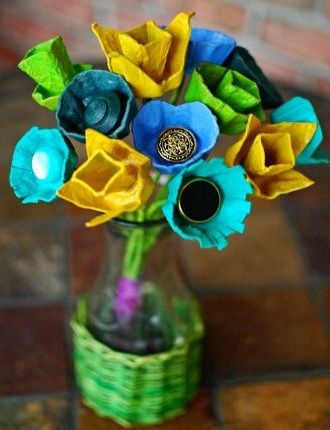
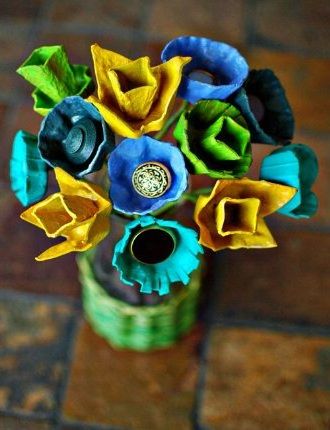
Recycled roses
If you are one of those who likes to use all the things that are left over at home, either to recycle and reuse, or as in this case to decorate, we invite you to see how to make a simple flower arrangement with cardboard from the egg box and old buttons.
Materials
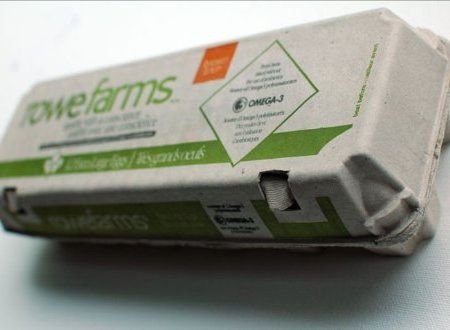
- Egg carton carton
- 12 pipe cleaners
- old buttons
- Colored acrylic paint, to paint the flowers
- floral ribbon
- Scissor
- Varnish (optional)
- Vinyl glue or glue
- Wire
Step by Step
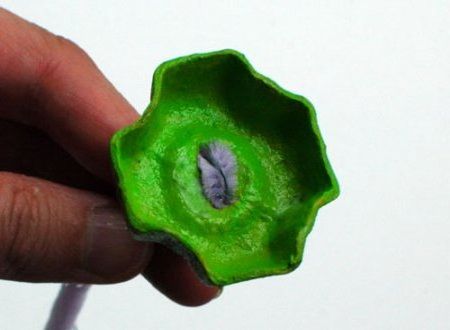
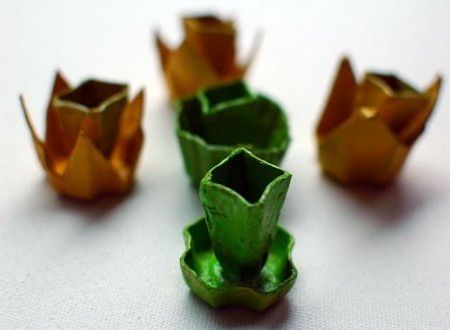
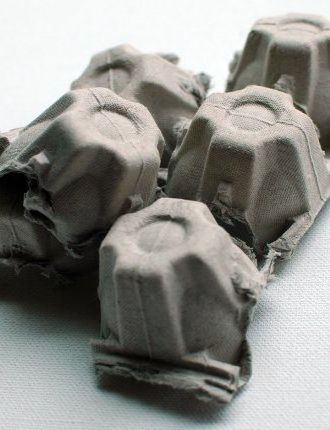
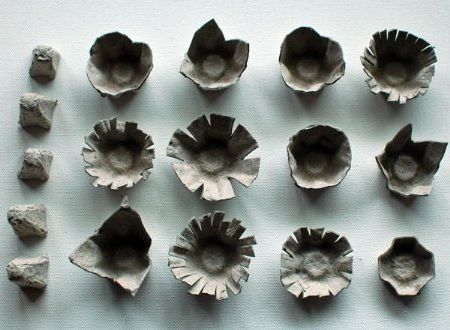
To get started, you’ll take the egg carton and cut out each space for an egg, separately. From each part that she cut out, you can create a flower, with different motifs. You can see what we show you in image, to get inspired. You can see that you can take out large flowers and some smaller pyramids, which we will later paste inside the flower.
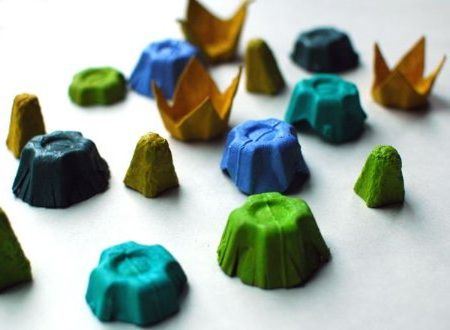
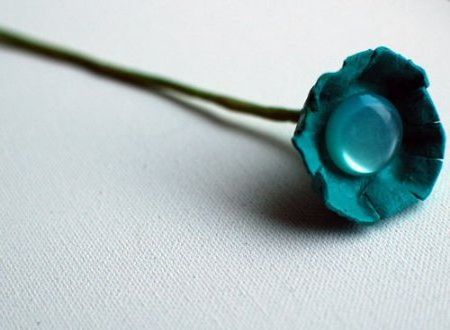
The next step consists of painting, with acrylic paints on the flowers, of different colors. After they dry, if you wish, you can add a layer of varnish, to make them more durable and shiny.
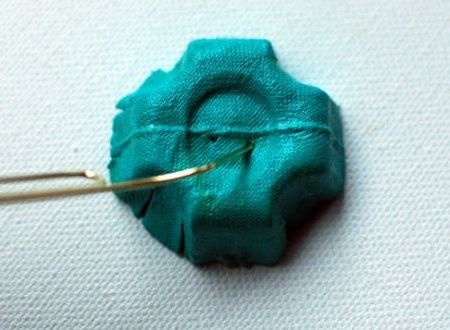
Then you should take the base of the flower and make two small holes. Pass a small part of the pipe cleaner through one of them, add a button to it and bring that part of the thread to the second hole, so that the button is attached to the flower.
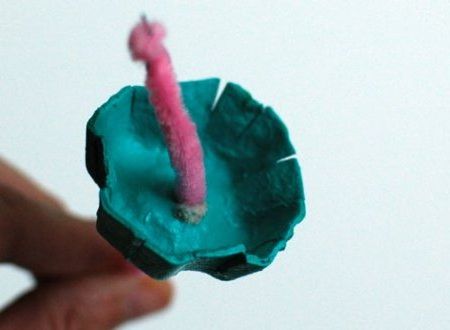

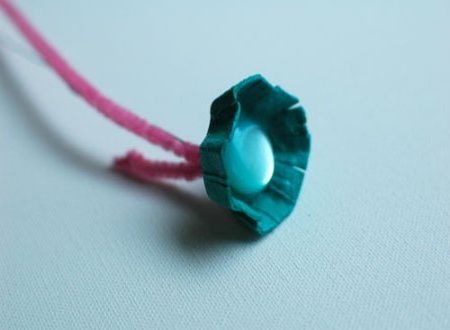
There are two options here. If we continue as before, the first possibility is to take the green floral tape and wrap what would become the stem of the flower, and it will be ready.
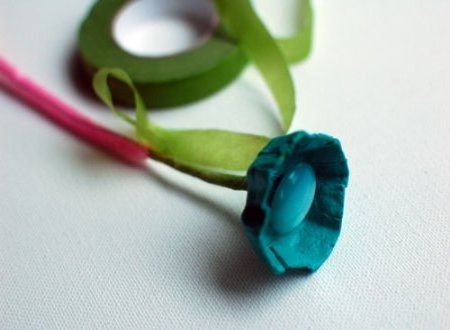
The second option is instead of using a button, you run the pipe cleaner through one hole, then the other, and tie it back under the flower. Then with the surplus cardboard, in the shape of a pyramid, we paste in the middle of the flower and let it dry. This way we will have more types of different flowers.