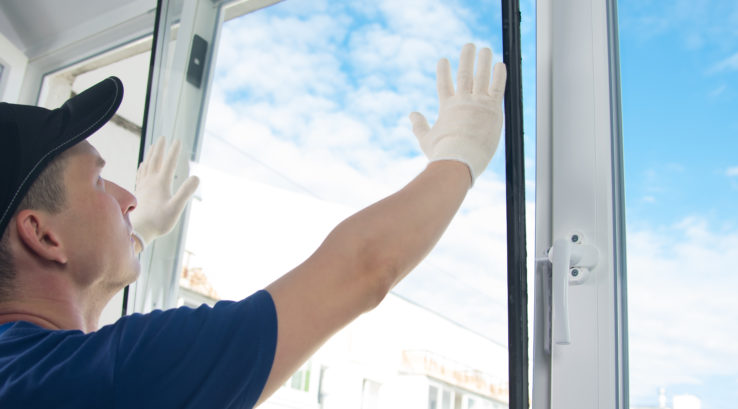
Installing windows may seem like a lot for a DIY project. But with precise measurements, the right tools, and a little know-how, nothing is impossible. In this article, you will find out the key steps for installing or replacing a window. And in case you are still asking yourself, “Is there a Windows Installation Near Me?” you can find the answer here.

Taking the Measurements
A crucial moment of this process is to measure the opening correctly so the window you order fits like a glove. To do this, you need to take three measurements for each side. Measure the distance between opposing jabs in the middle and on both sides. Choose the smallest result and go with it.
If you are doing a complete replacement, measure a windowsill angle. Then, include it in your order to get a fitting sash replacement kit.
Ordering windows of the wrong size will bring lots of extra work and expenses. You might need to narrow or widen the opening and rework the inner surface and window exterior. Or you can take the measurements again and order another window, which means spending twice the amount you first intended to.
Prepare the Opening
Before a replacement window can be installed, you must remove the interior stops. They will be reattached later, so unless you are planning to replace them as well, be gentle as they break easily. Pry them using a putty knife and a tiny crowbar. Be careful and precise to preserve the paint job and minimize further repairs. If there is any sash hardware in place, it is likely held by screws or nails. Remove those as well.
After you are done, fit the replacement window to see if it sits as it should before moving forward. After that, take polyurethane window caulk and work the inner surface of the blind sash and window stool.
Placing the Window
Start from the bottom by putting a new window on the windowsill. Now, tilt it until the whole window is into place. Push it firmly against the blind stop.
Now, fasten the window with screws in the upper left and right corners. Don’t fasten it too hard, as you have to be able to make necessary adjustments. The replacement window must be straight and square, which will ensure that it opens and closes smoothly. If at some point, you see that the screws have to be removed, don’t be afraid to do so.
Check the Levels and Plumb the Window
Before fastening for good, make sure everything is even and operates fine. Measure the diagonals of the window; if they are even, it means that the window is square. If they are not,place shims behind the screws for adjustment.
Slide the sashes to make sure they are parallel and move smoothly against each other. Also, use a level to find out if the sill and upper jamb are parallel. Then, do it to the side jambs. Once everything is even, tighten the screws.