There are those of us who believe that the best Christmas decorations are those that are made by oneself, for the simple fact that they have the love, commitment and personal touch that makes each element more enjoyable and above all, the beginning of a story to tell whoever it is. sees it. It is for this reason that below we will see some easy Christmas crafts, ideal to spend a December afternoon, doing them with the children.
With cheap and easy to get elements, you can make beautiful crafts. Take a look at these proposals.
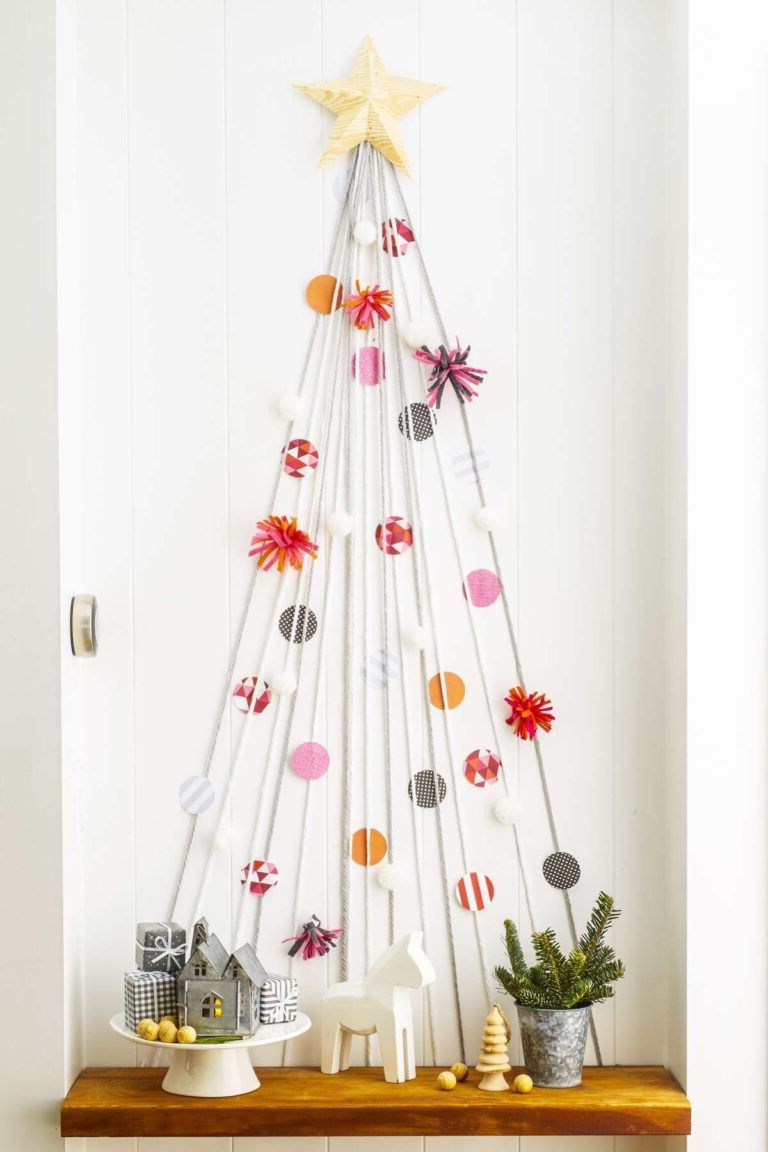
Paper Christmas tree decorations
Next, we will focus on different decorations for the Christmas tree, made from white sheets of paper.
Materials
- A4 sheets
- Scissor
- Glue
- wool yarn
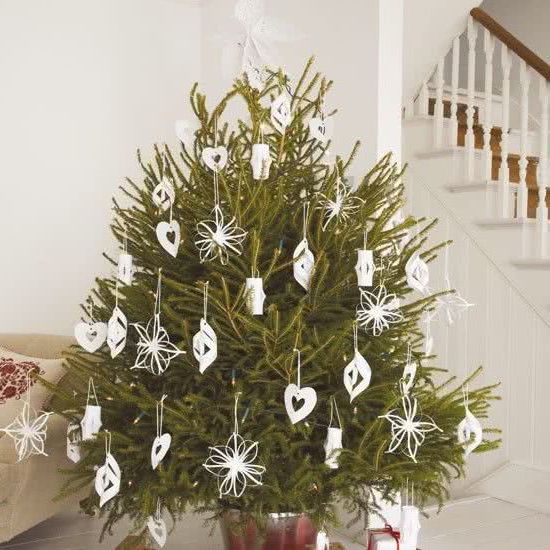
Paper hearts

This one is very simple; You just have to draw the shape of a heart and then cut the shape of another heart inside it with a cutter. Finally it is folded in half, to give it a little more volume.
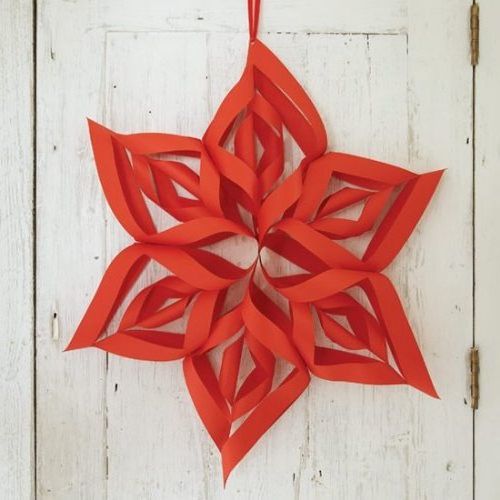
Here is a video of another similar version, but a little more elaborated.
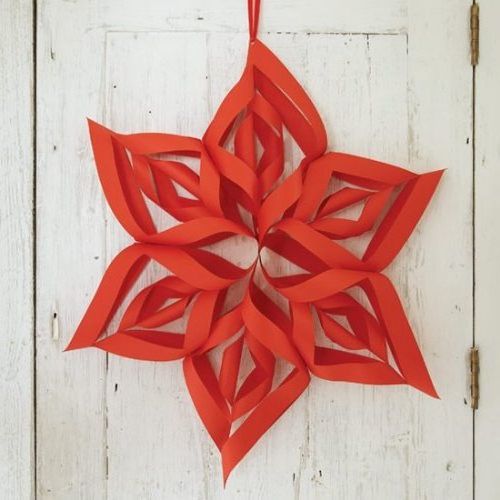
3D paper snowflake

This decoration for the door or the tree, many will believe that it is impossible, but they will see that it is very easy to do. Below is a video with the step by step.
Each individual part of the snowflake can also be used as a very original and decorative ornament.
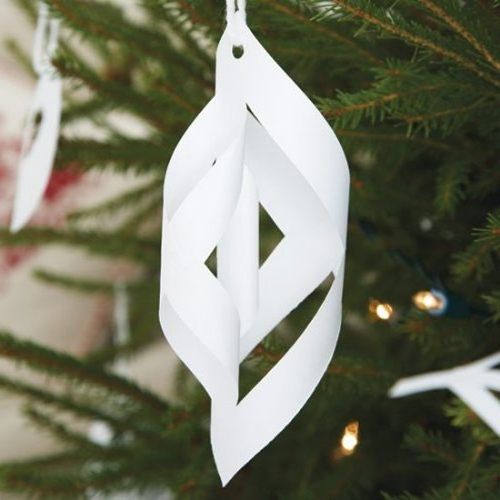
In this option you need to cut a 10.5 cm x 10.5 cm square and fold diagonally to form two triangles. Cut spaces inside each triangle, simulating a “v” that follows parallel to two sides of the figure. After that you must roll up the paper and finally hang the wool thread on it.
Paper chain
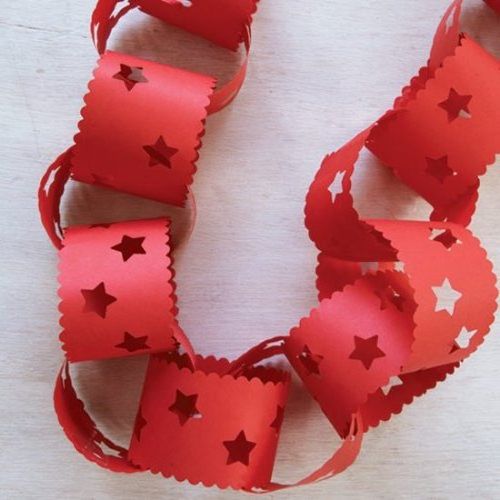
Another simple and very nice idea is paper garlands. They can be made in any color and are very easy. Small rectangles are cut, each one is cut on two sides with decorative scissors and then with a cutter some stars are made. Then the first one is glued forming a cylinder. The following ones will be pasted in the same way, but taking care to paste them so that they are already hooked to the previous figure. By following this step, you will quickly have a long garland. Here is an explanatory video with the step by step.
Snowflakes on paper
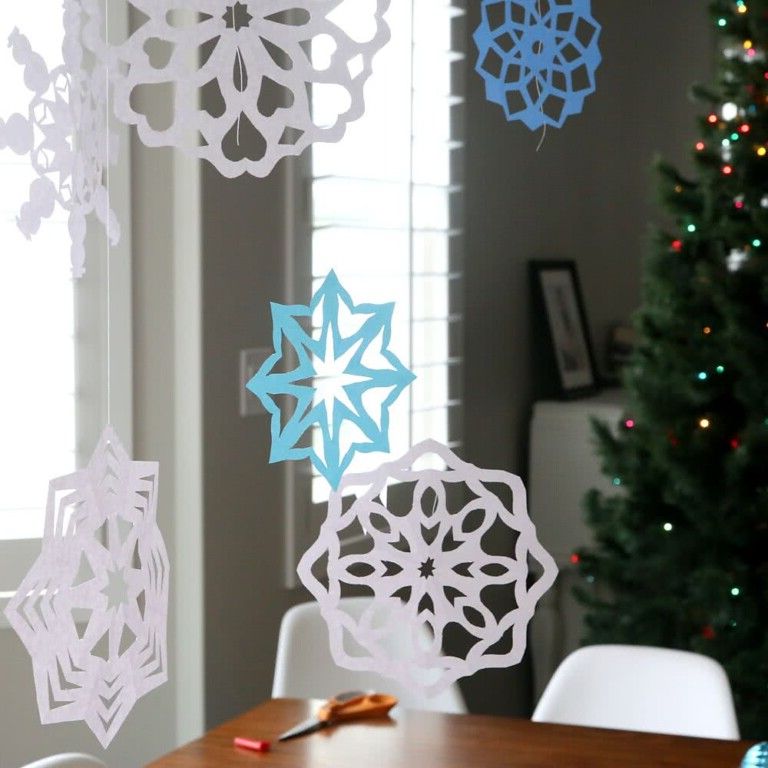
All these ideas mentioned above, can be combined in a single wool thread and thus forming several strips, create a kind of decorative curtain, set for the holidays.
For this one, the one in the photo above, you will have to cut 12 strips of 0.5 cm across the width of the sheet. Take two and paste forming a cross. Then do the same but let the strips come out to the sides that the other cross left empty. The remaining strips are folded in 2 and the middle one is placed, in the center of the crosses and both ends are glued near the end of one of the crosses. Repeating this step, you get this fantastic ornament that is hung with wool thread.
Paper lanterns
This model can be made in a larger size and colors, to hang from the stair railing.

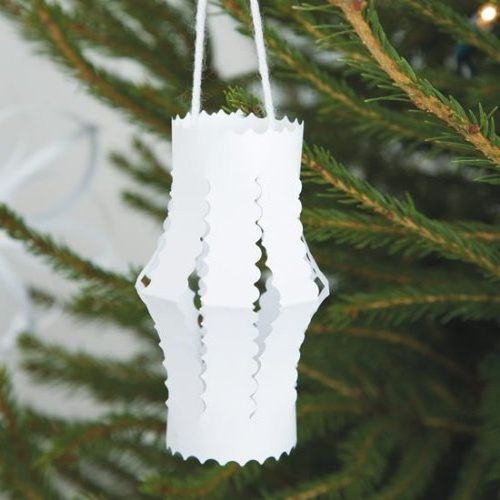
Cut a rectangular paper of 10.5 cm x 15 cm. Then cut the edges with decorative scissors, which already come with a special cutting pattern. Fold in half and cut every 3 cm, leaving 1 cm. before finishing the paper. Finally unfold it, open the halves and unite in the shape of a cylinder.
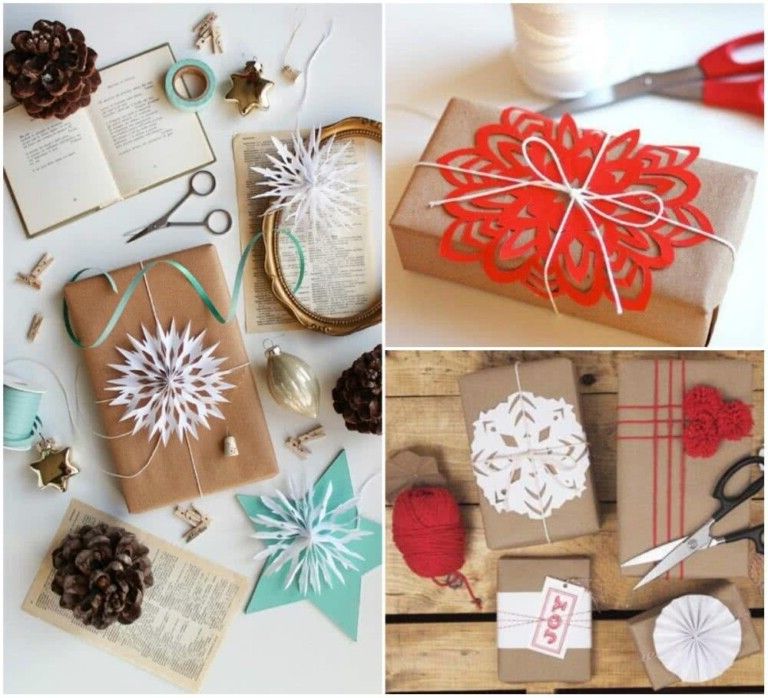
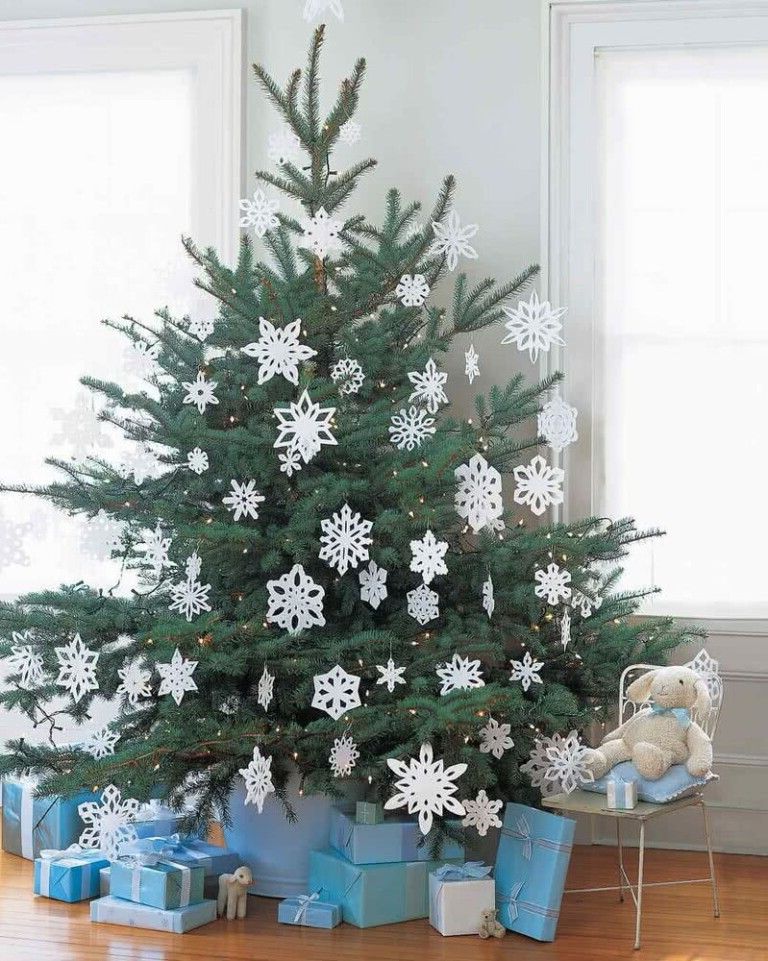
Other easy Christmas crafts of paper or wool
Ornaments with racks
You no longer have to settle for decorating the walls with just details such as lights and other classic decorations, because you can be as original as you want. And if you are one of those who prefer to sew, you are going to love this Christmas craft to decorate walls with racks, a really great idea.
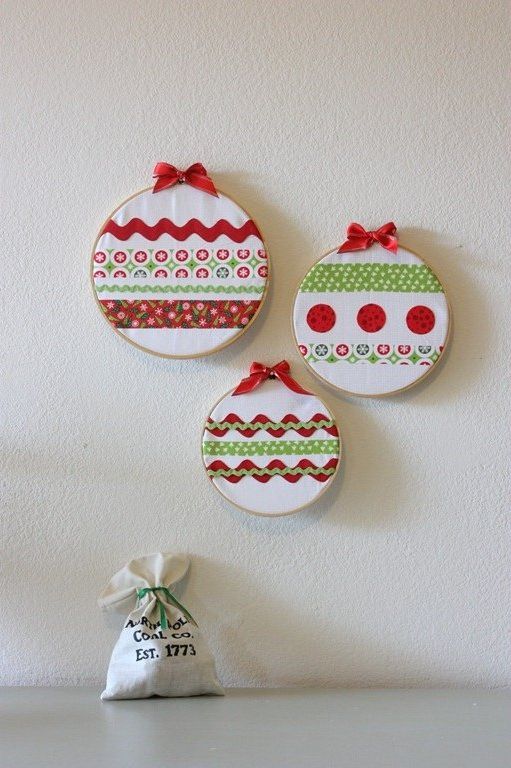
For this wall decoration, you only need white cotton fabric, a few pieces of decorative fabric such as the one seen in the image and that you will sew to it, and then place the piece inside the frame. A frame, as you know, is a piece of wood that is used to fix the fabric while it is being embroidered.
Why not take advantage of the great idea , as seen in the image, by using several of them, and placing them on the wall in the hallway or in the living room. May Christmas flood your home with these crafts that are so easy and so attractive.
Dove of peace in wood
Christmas is coming and we start to prepare our tree, ornaments and Christmas decorations. If you are looking for ideas for something different and original, here we show you how to create this Christmas craft of the dove of peace.
First you look for the silhouette of a dove, for example on the Internet you will surely find it quickly. Then take care of drawing the image on a plywood, and then with a saw cut out the image. If you do not have this element, it is time for you to acquire one since it will surely be very useful.
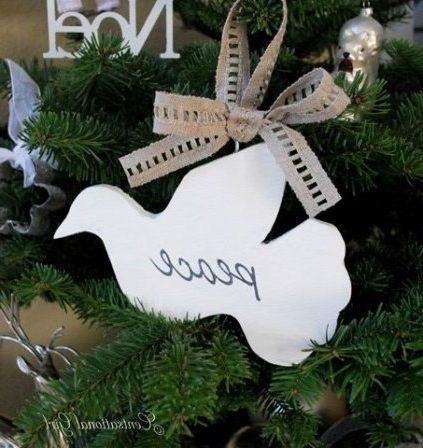
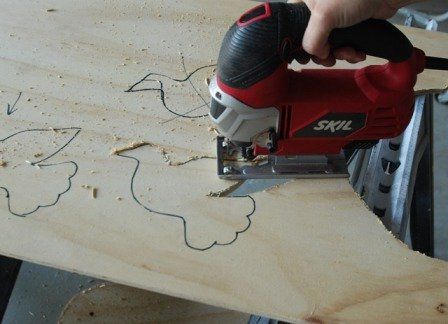
Once you have the silhouette in wood, you should sand it well on the edges and spray paint the dove. It is best and most elegant to choose a silver gray spray. Then you must take care of the text and for this you can use your computer to create the letters that you like the most.
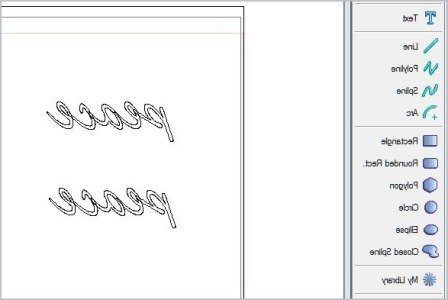
You place the letters on the wooden dove and begin to paint the wood white, then remove the letters and thus have an elegant and sophisticated dove.
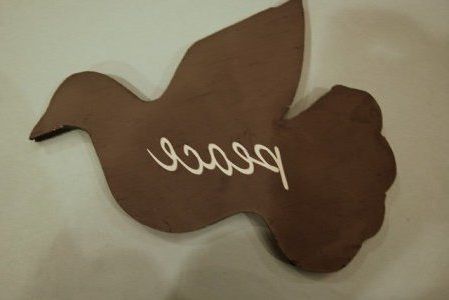
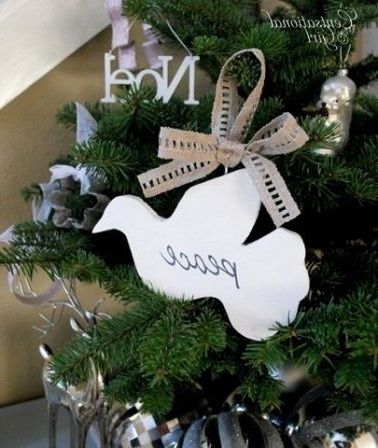
Finally a screw to hang the dove of peace on your
Christmas tree.
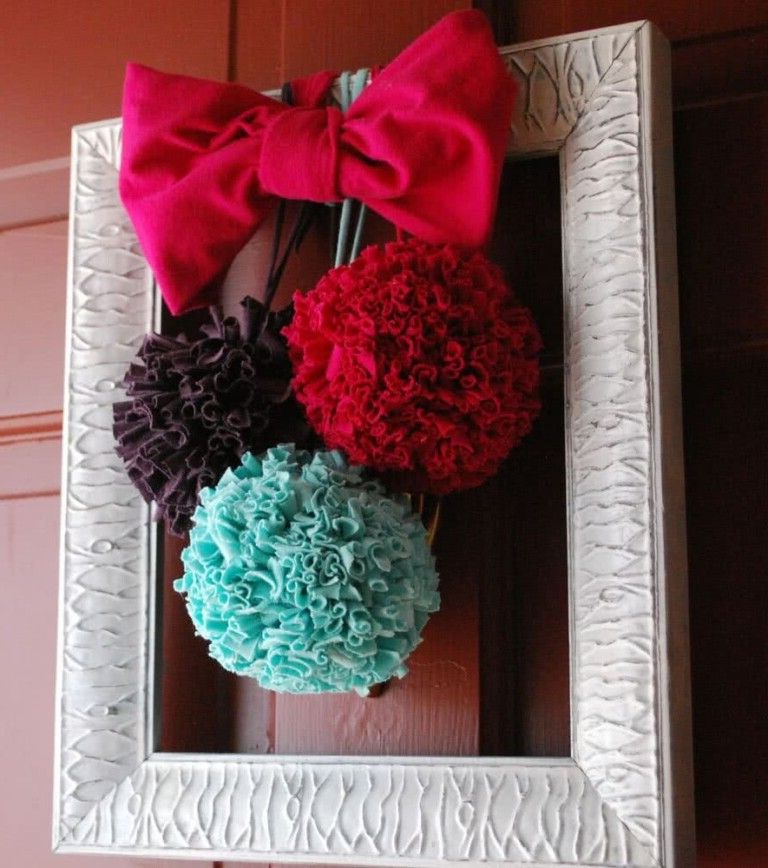
Fabric pom poms for the door
Making homemade pompoms yourself to decorate the doors of the home can be not only a simple task, but also a way to recycle things that are no longer used in the house.
 Materials
 - old t-shirt
- Paperboard
- Pair of scissors
Step by Step
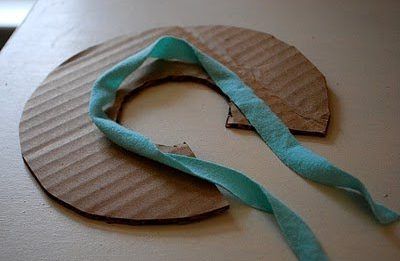
1) The first thing is to cut two cardboard circles like the ones shown in the image, without closing and having a radius of approximately 6.5 cm for the larger circle and a radius of 2.5 cm for the inner circle. These sizes can be varied, in order to obtain different pompoms.
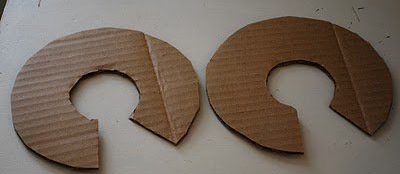
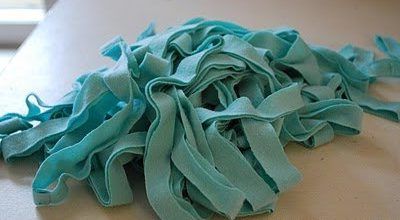
2) Now you must cut the shirt; basically you will have to cut a strip of about 30 cm. and then cut the rest of the shirt into one big strip.
3) Place the 30 cm strip. as shown in the image, on top of the cardboard and then place the other on top.
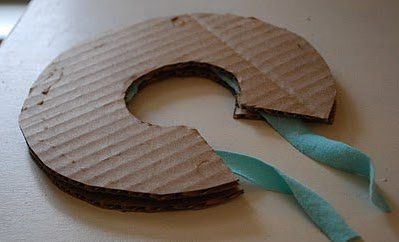
4) Then proceed with the long strip to wrap the cartons from one end, until reaching the other. Here, despite the fact that we said that a single strip will be used, it can be several, taking special care that there are no uncovered spaces.
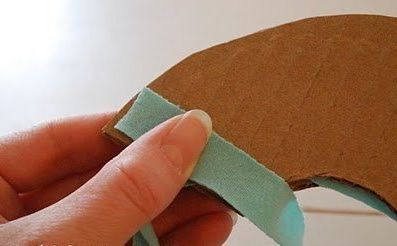
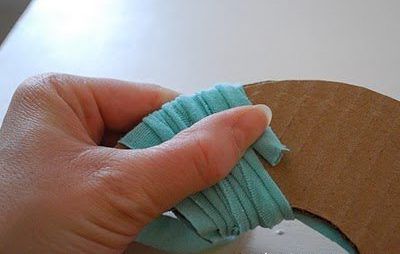
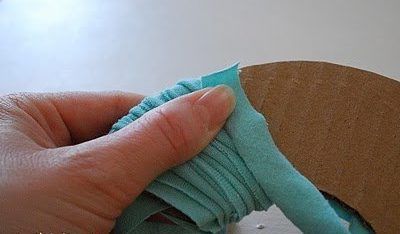
5) This same procedure, do it twice more, until achieving three layers of strips in total
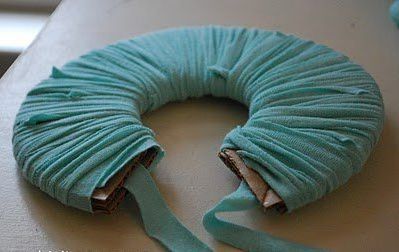
6) Now the next step is to pull the strip that was left inside and tie it tightly.
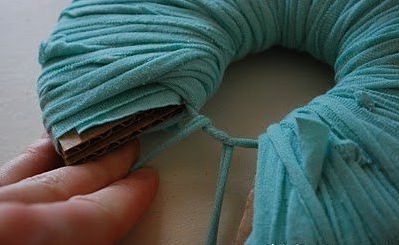
7) The next step, perhaps the most difficult, is to cut with scissors, the fabrics on the outer circle, between cardboard and cardboard.
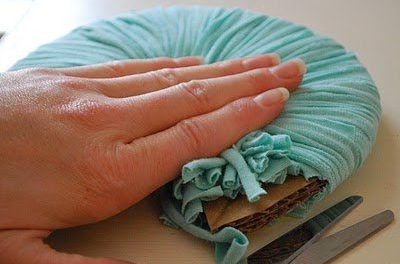
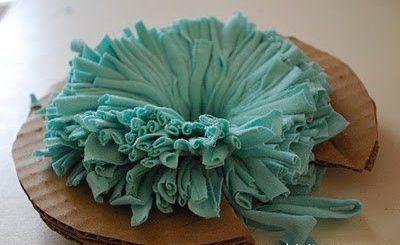
8) At the end of this, the pompom will be done, but without the necessary consistency yet. You will need to tie the knot better, if necessary, or add a small thread to make an additional knot.
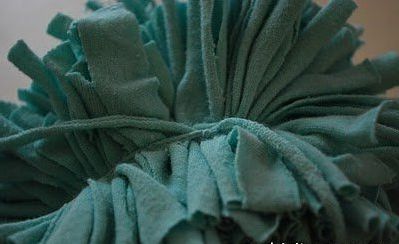
9) Retouch it with the scissors to remove all those strips of fabric that have been uneven and finally you will have finished your pompom for the door. We recommend you vary the colors to make it more fun.
